DSP-7
WiFi WLan Interface, Webserver

Enter WiFi login data:

The WiFi interface tries to log into the home wireless network. Therefore the access data (SSID and password) must be entered. This can be done by activating an unprotected mode with a jumper:

  1. Switch the DSP-7 controller OFF and ON
  2. After switching on, the colored LED flashes for 5 seconds
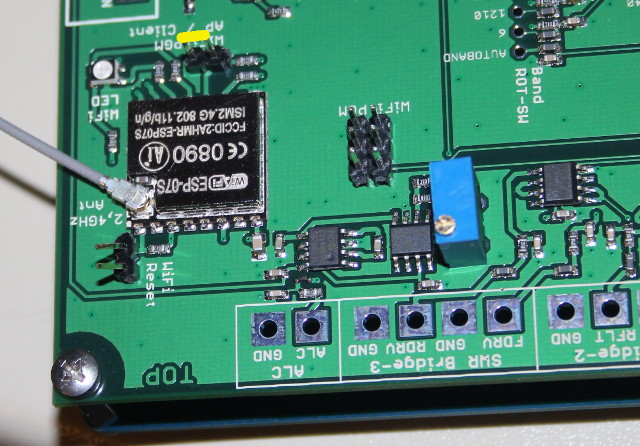
  3. During these 5s, a jumper must be plugged onto the PGM pins (see picture, yellow marking). The LED stops flashing and turns solid RED. Now the unprotected setting mode is enabled and a wireless hotspot (AP) is online.
  4. Remove the jumper.


Now the board has its own wireless hotspot (AP) enabled with the SSID: WS23SETUP
Using a smartphone or notebook go to the wireless settings find this AP. Connect to this AP and wait until the connection is  established.
Then open a browser and enter the IP: 192.168.4.1:8081,
the DSP-7 web interface will be shown in the browser. 
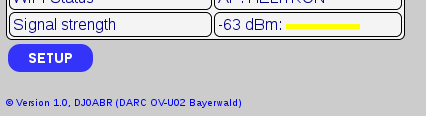
At the bottom of the web page click on the blue button SETUP


This opens the SETUP page, you need to enter three settings:


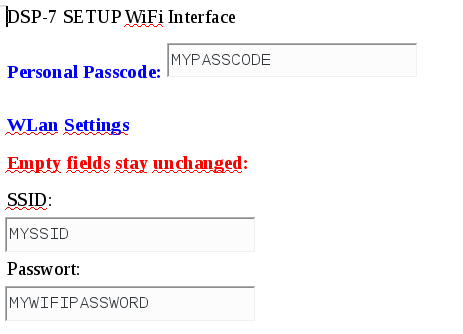
Personal Passcode: Enter any password (up to 10 letters or numbers, without spaces). This passcode will be used for identification for further settings. If you forget this passcode you need to do this procedureagain.

SSID: Enter the SSID of your local WLAN

Password: Enter the password of your home WLAN

the other settings on this page can be entered later during normal operation (by identifying with your personal passcode)
Now click the blue button SEND which is at the bottom of the page.
The settings are now finished. If not done, the JUMPER must now be removed!

When the SETUP is done:

The power supply must now be switched OFF and ON after a few seconds.
The LED will initially light blue. This means that a connection
establishment with the local  WLAN is in progress.
After
some seconds the light changes to green if the WLAN connection is established.
(the above-described AP with SSID: WS23SETUP is no longer
activ now).

Normal mode:

DSP-7 is now connected to the WLAN (LED lights up green). The board gets an IP address from the local WLAN via DHCP.

To be able to access the web interface you have to know this IP address. The easiest way to determine this IP is to look in the Internet router. In the list of connected devices you will find one with the name: ESP_xxxxxx. This is DSP-7, write down the IP address.

To acces the DSP-7 Web Interface enter this IP followed by :8081 in your browser and the DSP-7 web page will be displayed.

LED colors:

blue (steady light) ... WLAN is being searched for
green (steady) ... Wi-Fi is connected
white (short flash) ... correct measurement data was transferred from DSP-7 to the web interface (1x per second)
red (steady light) ... internal AP with SSID: WS23SETUP active (website at 192.168.4.1:8081)

What does :8081 mean ?

normal web servers work on port 80. To avoid collisions between the DSP-7 Web server and possibly existing other web servers in the home network, DSP-7 uses another port number, 8081. If you want to set up port forwarding in the router in order to reach the web server from outside, you must enter this port number in the router.